1 拉取镜像
docker pull mysql
docker pull php:7.3-fpm
docker pull nginx
2 创建容器
# 1.启动MySQL容器:
docker run -id --name=c_mysql --restart always -p 3306:3306 \
-v /lnmp/mysql/conf:/etc/mysql/conf.d \
-v /lnmp/mysql/logs:/logs \
-v /lnmp/mysql/data:/var/lib/mysql \
-e MYSQL_ROOT_PASSWORD=123456 \
mysql:latest

# 2.启动PHP容器:
docker run -id --name=c_php --restart always -p 9000:9000 \
-v /lnmp/nginx/html:/var/www/html \
--link c_mysql:mysql \
php:7.3-fpm

# 3.启动Nginx容器:
docker run -id --name=c_nginx --restart always \
-p 80:80 \
-v /lnmp/nginx/conf:/etc/nginx/conf.d \
-v /lnmp/nginx/logs:/var/log/nginx \
-v /lnmp/nginx/html:/usr/share/nginx/html \
--link c_php:php \
nginx:latest
3 部署测试
1) 步骤1:创建站点配置文件
命令1:cd /lnmp/nginx/conf
命令2:vim default.php

配置文件内容:
server {
    listen       80;
    listen  [::]:80;
    server_name  localhost;

    #access_log  /var/log/nginx/host.access.log  main;

    location / {
        root   /usr/share/nginx/html;
        index  index.php index.html index.htm;
    }

    #error_page  404              /404.html;

    # redirect server error pages to the static page /50x.html
    #
    error_page   500 502 503 504  /50x.html;
    location = /50x.html {
        root   /usr/share/nginx/html;
    }

    # proxy the PHP scripts to Apache listening on 127.0.0.1:80
    #
    #location ~ \.php$ {
    #    proxy_pass   http://127.0.0.1;
    #}

    # pass the PHP scripts to FastCGI server listening on 127.0.0.1:9000
    #
    location ~ \.php$ {
        root           /var/www/html;
        fastcgi_pass   c_php:9000;
        fastcgi_index  index.php;
        fastcgi_param  SCRIPT_FILENAME  $document_root/$fastcgi_script_name;
        include        fastcgi_params;
    }

    # deny access to .htaccess files, if Apache's document root
    # concurs with nginx's one
    #
    #location ~ /\.ht {
    #    deny  all;
    #}
}
2) 步骤2:重启Nginx容器
命令1:docker exec -it c_nginx /bin/bash
命令2:nginx -t
命令3:nginx -s reload
命令4:exit
3) 步骤3:创建PHP文件
命令1:cd /lnmp/nginx/html
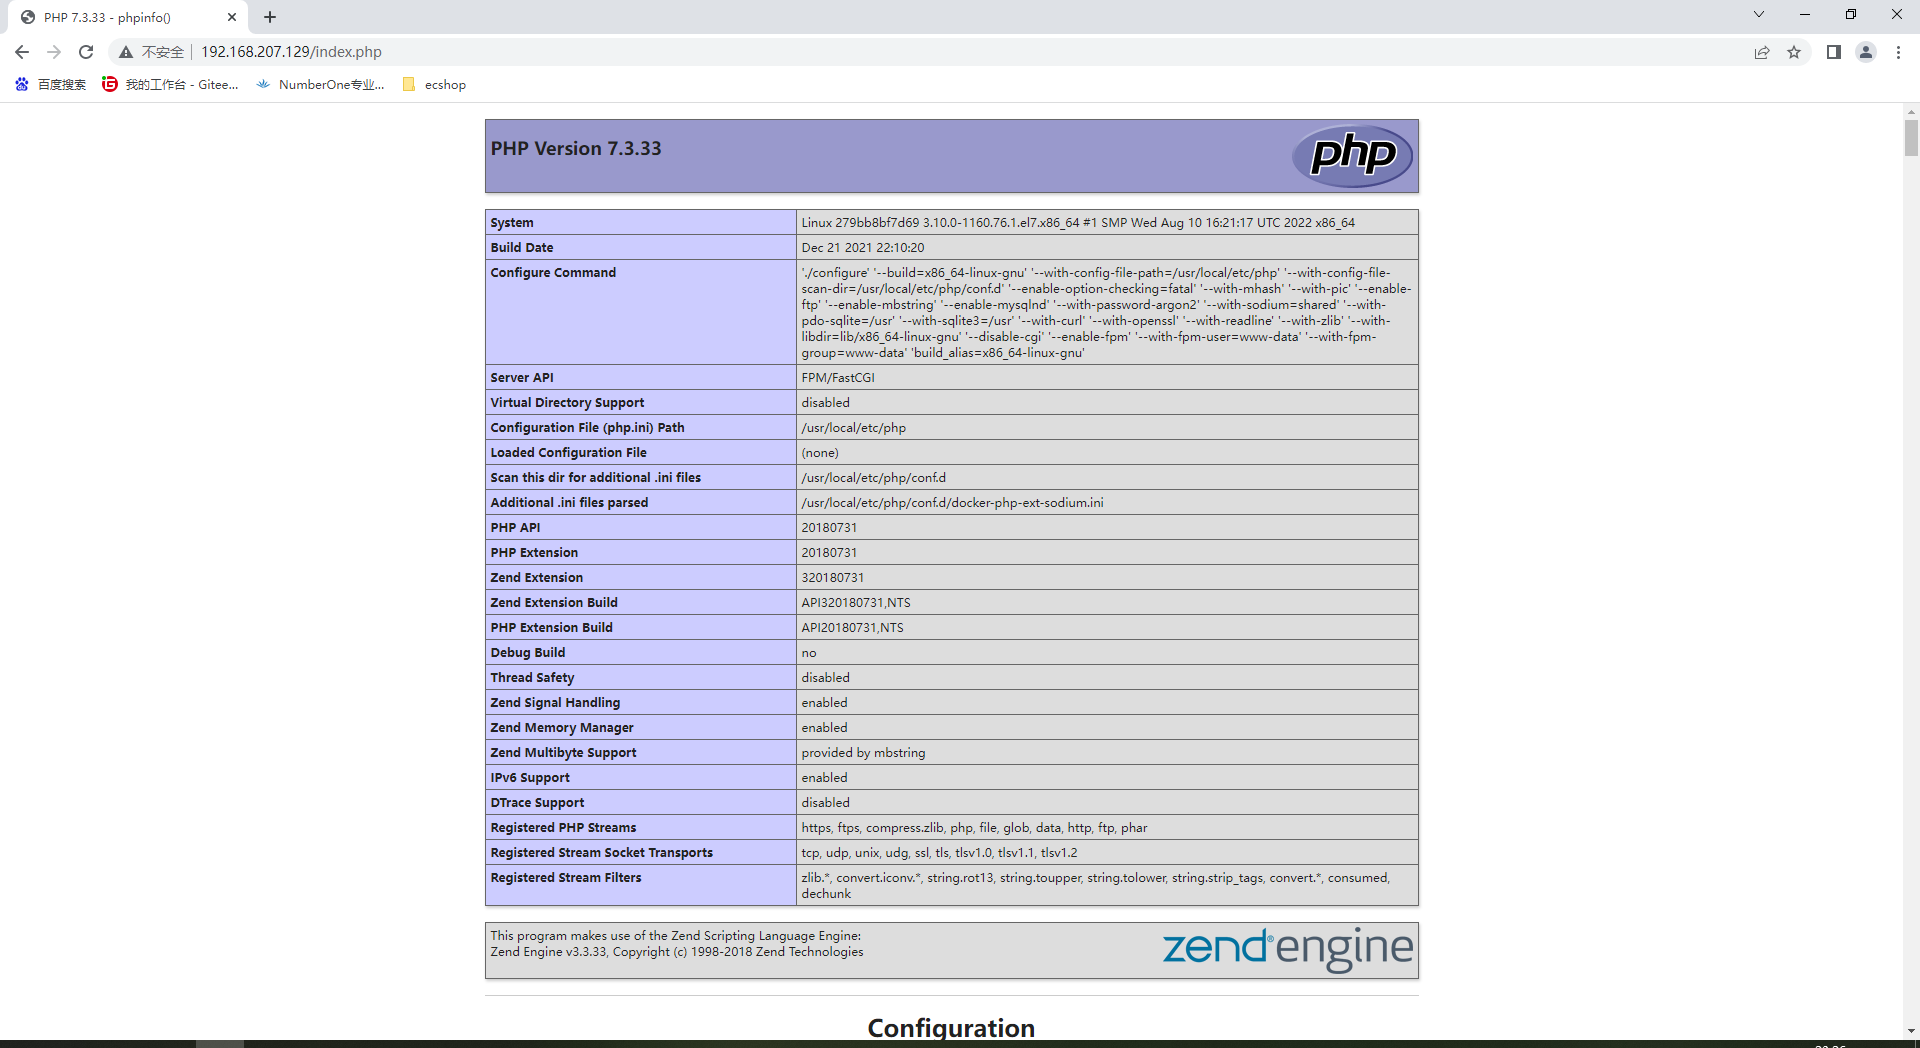
命令2:vim index.php
# index.php文件内容如下
phpinfo();
?>4) 步骤4:浏览器访问php文件,http://192.168.207.129/index.php